Refugia: what they’re for and how to build them
By Forrest Phillips
Refugia they are touted as doing everything from feeding your fish for you to negating the need for water changes. This is cause like many things in this hobby they are not fully understood by all fishkeepers and for this very reason they are misused, and relied on to do things they just can’t do.
Why use a refugium at all?
Let us start by looking at the things refugia can certainly do.
Firstly, they can be used to grow live food for your fish, either the form of algae for herbivores, or small prey (typically plankton and tiny crustaceans) for plankton eaters and micro-carnivores. Refugia aren’t going to produce much food for the larger carnivores: bull sharks aren’t going to get a big kick out of freshly grown copepods!
Secondly, refugia can help to reduce nitrate levels in the aquarium. Note that I said reduce nitrates, not reduce the need for water changes; more on this later.
Finally, they provide a safe place for sensitive specimens; quite literally, a refugium as refuge.
So what is a refugium?
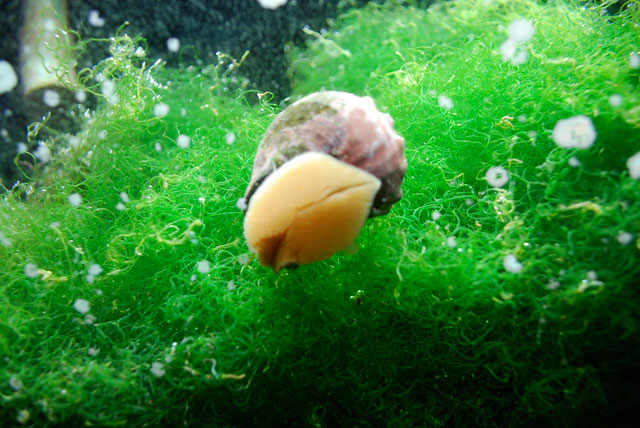
Simply put a refugium is a place of refuge, but for what? Well, that depends on your aquarium and interests, but typical residents include feather-duster worms, macroalgae and copepods. But everyone has their own favorite additions to refugia: it’s all about what you want to do with yours!

Retail stores may use scaled-up refugia to improve water quality, as here at Pier 701, Midland, Michigan; while the details may differ from refugia used at home, the principles are the same. © James Gasta.
Manufactured models that go inside an aquarium or hang onto its back are widely sold, though many aquarists prefer to follow any one of numerous do-it-yourself plans available. What is important is the size of the refugium. If you make it too small, then you won’t get the results you want. If you make it to large, well, about the only way to make it too large would be to size it such that it extended past your property line!
The minimum to shoot for is 20% of the volume of your display tank, though 50% would be much better and 100% downright amazing.
Construction, installation and plumbing
Assuming you don’t use a store-bought off-the-shelf unit, you have many options in terms of DIY construction. These range from simple blow-molded plastic boxes (such as Rubbermaid tote boxes) through to glass or acrylic aquaria fitted with baffles to separate the contents into compartments.
Connecting the water flow to your refugium can be done in one of two ways, either upstream or downstream. An upstream refugium has water pumped up into it, and as it overflows, gravity pulls the water back down to the tank. This type of refugium offers better production of plankton because there’s less pump shear, though this benefit appears to be less significant than was originally thought.
A glass refugium equipped with baffles and lights, ready to be plumbed into the marine aquarium. © Scott Vallembois.
The other option is a downstream flow of water. Water overflows the display tank and flows down to a sump chamber, this chamber containing a refugium or acting as the refugium, and a pump then lifts the water from the refugium back up to the display tank. Placement of the refugium with respect to the other sump chambers is not particularly critical, though if you can feed the refugium with a low flow rate, while directing the remaining flow goes to the skimmer, so much the better. The water that has been treated from each of these flows then goes through the other sump equipment, past the heater, through the carbon and so on, before the pump sends it back to the tank.
Refugia as biological filters
Refugia make wonderful natural filters, and it is for this reason most people use them. The means by which they filter the water are numerous, but can be broken down into three basic types, which for simplicity we’re going to refer to as animal, vegetable and mineral filtration, though to a degree these terms are a little misleading.
Animal filtration is essentially filter feeding. Animals that feed on particulate matter or dissolved organic chemicals remove these from the water, improving clarity and quality. Tube worms and Xenia polyps are examples of this type of animal, though some filter feeders, such as Aiptasia anemones, are more likely to be thought of as pests than helpers.
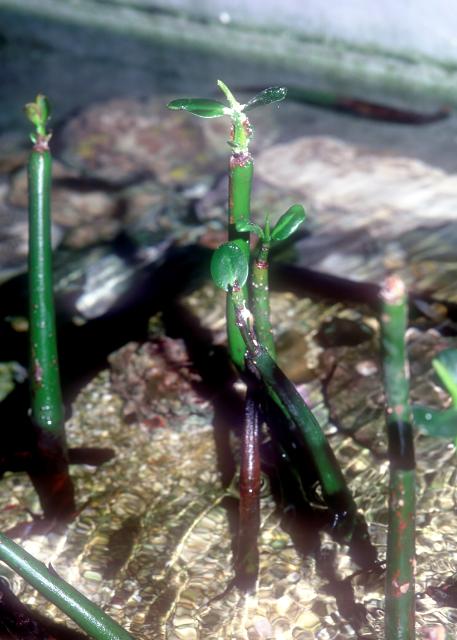
Vegetable filtration is primarily based on algae, though certain vascular plants, mangroves, might be used as well. Either way, these are relied upon for their ability to dissolved organics. Calupera and Chaetomorpha are the most commonly used green algae, though many others are used as well.
Different types of algae all have their advantages and drawbacks. The most severe cases are to be found among the various species of Caulerpa. Most of the time these algae do good work helping to maintain water quality, but should they switch into the sexual stage of their life cycle, known as sporulation, at which point they can cause major problems, the most obvious symptom being cloudy water. This generally can be held in check by lighting the algae 24/7 and aggressively pruning them to prevent them from reaching the sexual stage of their life cycle.
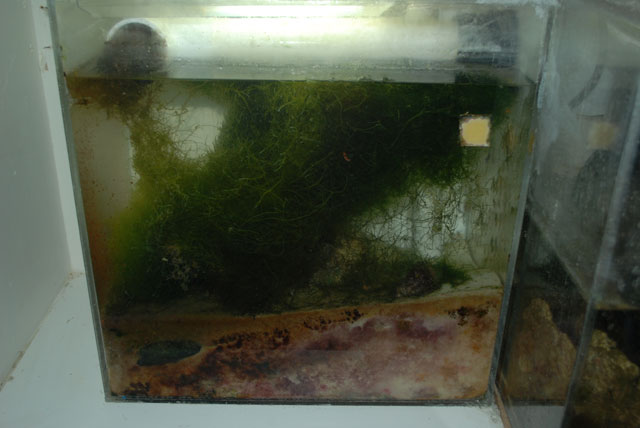
Fast-growing algae remove nitrate and phosphate from the water, improving water quality. © Scott Vallembois.
Calupera is the only, I repeat only, algae that should be illuminated 24 hours a day, as this will have detrimental effects on other algae. Instead light them on a reverse photo period or reverse daylight period, frequently abbreviated RDP. In other words, when the lights are on in the display tank, switch the lights off over the refugium, and vice versa. This will balance the pH changes caused by photosynthesis between the two tanks, avoiding dramatic changes that might stress your livestock. Take some time to look into the benefits of the various macroalgae to learn more about the benefits and possible liabilities of each species. If you are curious, I myself use Chaetomorpha. It's cheap, grows like crazy and makes a good home for copepods.
Vegetable filtration is often used in conjunction with a mud layer. This mud, available form different manufactures, including Kent, Weiss and Ecosystem, is thought to provide a nice home for different copepods and also replenishes the micronutrients needed by corals. There is some controversy with regard to the use and benefits of the mud method though, and you should thoroughly research it prior to using it.
Mineral filtration describes the use of a deep sand bed (DSB) to promote the growth of beneficial bacteria. In this case, we’re building what is known as a remote deep sand bed (RDSB). Typically these are made from beds of aragonite sand between 4 to 6 inches in depth. The bacteria in the sand perform what aquarists refer to as natural nitrate reduction (NNR). Yes, there certainly are an awful lot of abbreviations!
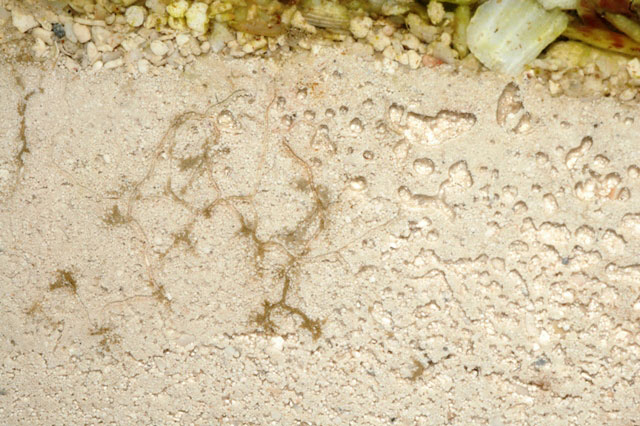
Properly configured deep sand beds are effective tools for natural nitrate reduction. © Bob Fenner.
When setting up a refugium in this way, you may want to add some animals that will help to stir the substrate. Worms and snails are your best bet, and you should stay away from starfish and gobies as these will kill all the little animals, the microfauna, that make deep sand beds work properly. Obtaining the right kinds of animals can be done through your local fish shop if they have good quality live sand, and some will come from any live rock you have as well. Standard live sand doesn’t usually come with these animals, though it does of course have the bacteria and other microbes necessary to do its job. Some online retailers sell specific cultures of sand stirring organisms ready to be added to your refugium. If you don’t have the funds for that, simply adding a scoop or two of sand from a mature marine aquarium should get the colonization process going, and before too long the sand will be teeming with worms and snails.
Plenums can also used to perform the same function, though it is unclear at this point if the plenum is better than a static DSB.
As an alternative to sand, you can also put a stack of additional live rock in a refugium. If you needed more filtration capacity but were running out of room in the display tank, this is an ideal solution. Besides providing for better water quality, the rocks will soon be colonized by copepods and other microfauna, some of which will be washed into the display tank where they will be consumed by your fish and invertebrates.
Water flow rate
Now that you are thinking about what type of refugium you want to set up the next question is how much water flow do you need through it.
Optimal flow rate depends on what you want the refugium to do. If you are looking at culturing Chaetomorpha algae then you have to have sufficient flow to make it tumble, otherwise your results will be disappointing. On the other hand, a refugium being used to house a DSB needs a much lower flow rate because you don’t want the mud to be stirred and carried up into the display tank.
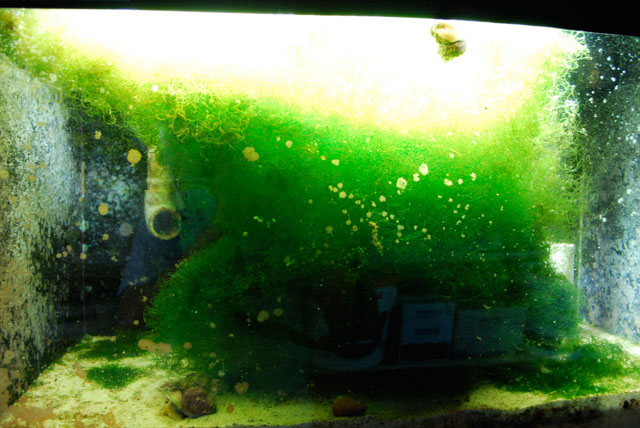
Chaetomorpha algae requires a brisk water flow for optimal growth. © Scott Vallembois.
The best thing to do is research the needs of a specific refugium set up first, and then choose your pumps accordingly. The minimal flow rate is a turnover of 5 times the volume of the refugium, and this would be suitable for refugia with DSBs. For refugia with Chaetomorpha, faster flow rates are required, turnover rates of 10 times the volume of the refugium being appropriate. Because of the need for higher or lower flow rates depending on the type of refugium, it is strongly recommended that the refugium be separated from other parts of the sump, so that you can install its own pump that feeds water into the refugium at the correct rate. Gravity will then return the water to the sump, and the main pump will carry it back up to the display tank.
Don’t try to balance pumps. Having a pump that pumps water to a sump and another that pumps from the sump, or header tank it its upstream is a very bad idea. You will never get them to balance. Speaking as some one with an engineering background, though admittedly fluid dynamics was not my favorite class, let me tell you no two pumps are the same.Let me repeat that for emphasis: No two pumps are exactly the same. Even if you could theoretically find two pumps that were exactly the same, you would then have to make sure that the pipes running to them were exactly the same as well. The water flowing into both of them would also need to be exactly the same. The wear on both of them from algae or salt build up or sand would have to be exactly the same. And so on! In short, do not even think about it. You won’t get it to work, so let’s move on…
Lighting
What about light? If you’re running just a DSB, then no light is needed, but if you are keeping photosynthetic organisms such as algae, which most of you probably will, then you will need light.
Lighting is important where photosynthetic organisms are part of the refugium, as with these mangrove propagules. © Bob Fenner.
For macroalgae figure on about 5-8 watts per gallon depending on depth of water; when in doubt, provide more rather than less light. If you have it set up to be long and shallow you might be able to get away with less light, but even then I’d recommend something like 8 watts per gallon just to be sure. If the refugium is deep then go with metal halide lights, but otherwise fluorescents, preferably T5s can work well.
Esthetics
Now lest you think a refugium has to be some ugly box of algae that you hide from everyone, consider Nature’s own sumps and refugia: mangroves and sea (or turtle) grass meadows. If you have ever snorkeled over a turtle grass bed you’ll have seen that these habitats can be breathtaking.
Consider displaying your refugium, perhaps at a slightly higher or slightly lower tank beside your existing display. Whichever is higher, use a gravity drain to carry water to the the lower tank, and the lower tank has the pump that moves the water back to the higher tank.
For example, you could have a refugium tank consisting of a bed of sea grass atop a deep sand bed with a mangrove plant growing out of the top. You could even place some corals in here, the most appropriate would free standing, open water corals such as Fungia spp, but then any coral that can sit on top of a sand bed will work. Snails and bristleworms, away from hermit crabs, would enjoy the protection and be fun to watch in their own right. A colony of Mysis shrimp might even be established.
Refugia can be esthetically pleasing aquaria in their own right. © Scott Vallembois.
In short, there’s no reason to consider a refugium just another piece of equipment, and what could be better than hiding these natural filters in plain sight by turning them into interesting, attractive aquaria you’ll want to look at.
Final considerations
So summarize then, a few points are worth restating.
Firstly, bigger is always better. Choose a refugium of sufficient size that it will do the job you want from it.
Secondly, remember that two refugia will be better than one if each can be tailored to reach their full potential. This is particularly important where different flow rates are required, as with those containing algae compared with those designed around a deep sand bed.
Thirdly, esthetics are only as important as you want them to be. A messy refugium could be hidden in the cabinet, but an attractively planted refugium is well worth putting on display where people can see it.
Finally, refugia don’t have to be expensive. Low-cost solutions including nothing more complex than plastic bins partially filled with sand, while Steven Pro has even pressed standard issue hang-on-the-back filters into service.
Refugia are a fun way to expand your hobby as well as improve water quality and livestock maintenance. Because you can add them as required, you can start off with a basic unit first, and then add additional units tailored for mud filtration or live sponges as your skills develop.
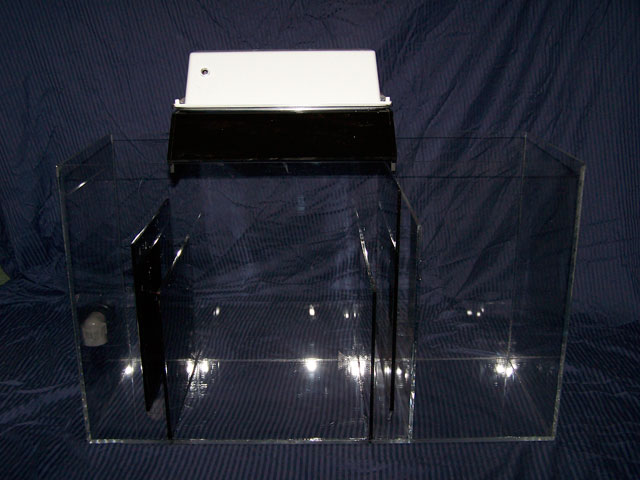
Step-by-step
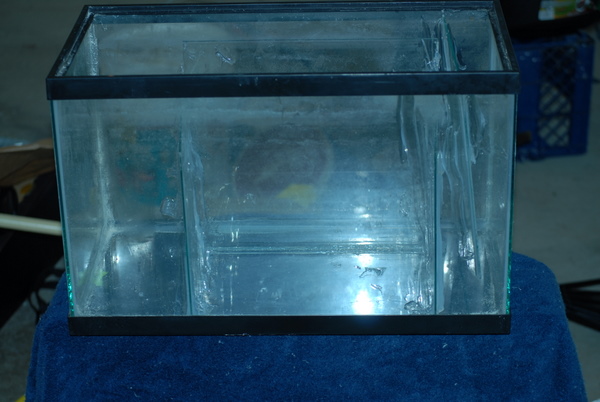
A DIY refugium like this will allow you to have all the functioning parts at a fraction of the cost. This refugium was assembled using a spare 10 gallon tank, some cut glass, pumps and 100% silicone.
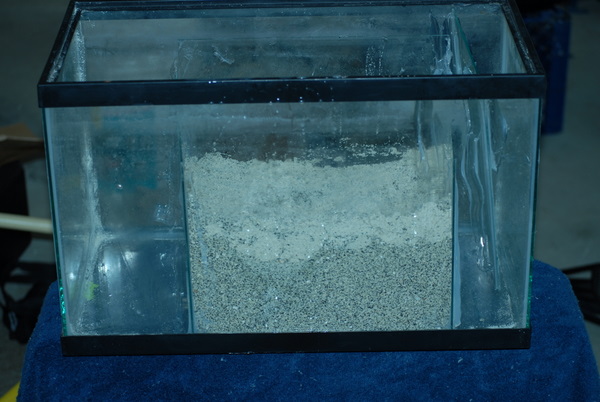
A deep sand bed being integral to this type of filtration has been provided after some baffles to help in settling particles out of the water.
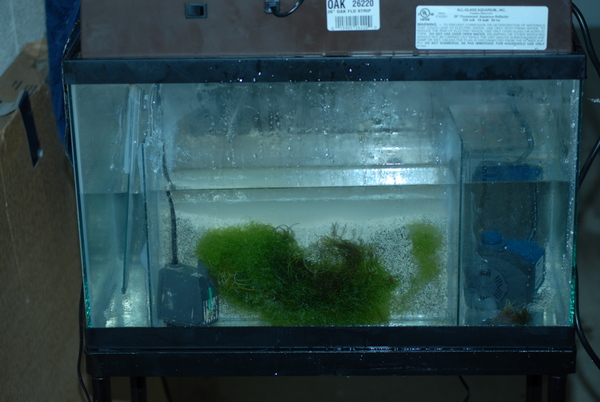
The finished product about to be installed to the tank. You can see the Deep Sand Bed in the background as well as the algae filtration in the foreground. To keep the Chaetomorpha tumbling, an auxiliary pump has been provided, as well as a fluorescent light. The last chamber allows for the return of the water to the tank, just as in a standard sump.
References
Refugiums. Bob Fenner, Wet Web Media, 2009


