|
|
| Home | Marine Aquariums |
Freshwater Aquariums |
Planted Aquariums |
Brackish Systems |
Ponds,
lakes & fountains |
Turtles & Amphibians |
Aquatic Business |
Aquatic Science |
Ask the WWM Crew a Question |
| Please visit our Sponsors | ||||
Being successful in maintaining a freshwater system takes applied
know-how in the way of set-up, stocking and ongoing maintenance.
Discussion of all elements of aquarium gear could easily fill a few
books; here we’ll focus on four areas of concern: Substrates, Fish
Medications, Heaters, and Cleaning Tools.
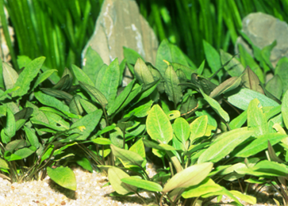
Substrates:
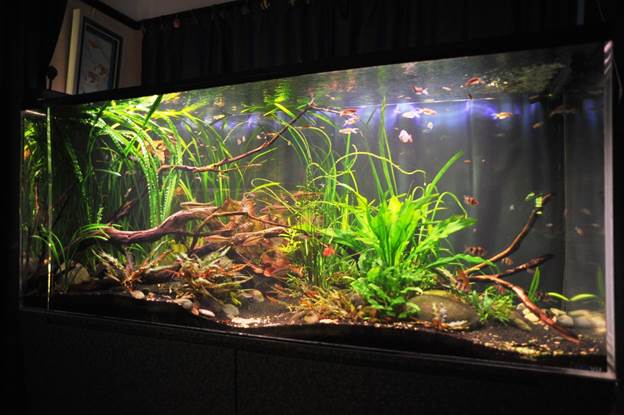
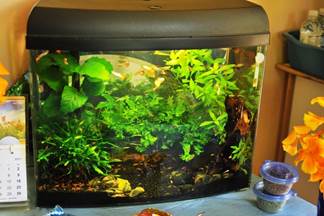
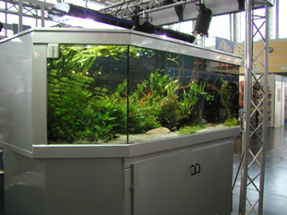
Call them gravels or sands, substrates are both useful and
beautiful additions to aquariums. Yes; there are some few settings that
call for “bottom-less” arrangement; commercial set ups where gravel
would be in the way, hatcheries where constant waste removal negates
their use; but most all other kinds of tanks benefit functionally and
aesthetically through incorporating one or more type of substrate. Here
is a quick run-down of plusses and applications.
2) Functions: Substrates do so many good things for a captive
setting. For one they discount the light-reflection from the bottom that
would occur if there was nothing there. This can be a very big deal;
adding stress to the inhabitants.
Habitat: Think about your home, office… do you have bare floors? Likely
not. Much of the livestock we keep has important “bottom time”;
rooting about on or even in the substrate for food, shelter. Many
loaches, killifishes and more delve into the bottom… and need soft media
there.
Having a few inches of substrate goes a long way to keeping your
system cleaner, more stable and optimized for your livestock; just be
sure to keep up with your regular vacuuming as part of frequent partial
water changing.
Fish medications:
The issue of using medications is a contentious one. It’s a fact that
more aquarium livestock is actually killed by medicating than by
diseases themselves. Not to discount med.s entirely though; they do have
their time and place… it’s just that so many times/cases folks jump to
unconfirmed conclusions and mis-actions in treating for mostly
environmental issues, or the wrong cause otherwise; misreading symptoms.
I’d like to make a few general statements here regarding disease, or
rather its antithesis: health.
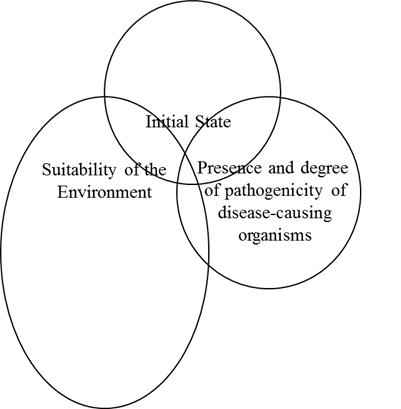
The three sets of factors that determine livestock health are:
As stated, there are occasions that call for direct chemical
treatment; mainly external Protozoan (white-spot, velvet…) and internal
(worms of various sorts, some protozoans). These need to be diagnosed
accurately… and utilized to the letter per the medication-supplier’s
instructions.
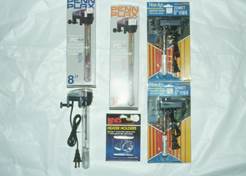
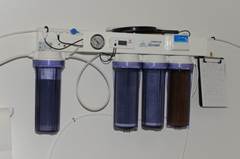
Heaters:
All living organisms have a range of temperature they’ll tolerate, and
tolerance to rapid increase/decrease in thermal regimes; and though
water has a very high specific heat; changing temperature slowly, it is
important for even cool water systems to have a working heater to
prevent temperature fluctuating too much, too fast in all set-ups.
Some pertinent input re sizing and number of heaters,
and their placement: Akin to “The Three Bears” and similar
myths/folk-wisdom It pays to not have “too much” or “too little”, but
“just about the right amount” of heater/s for your tanks. Too little
wattage and they’re running all the time; too much and if the setting
gets knocked about, you may have a too hot situation in short order. How
much heater is about right? 5-6 watts per gallon for smaller systems (a
few tens of gallons), and 3-4 watts per gallon for larger… When, where
in doubt, or where hundred/s of gallons are involved, it’s a very good
idea to utilize more than one heater; divide the wattage… to discount
the chance of all failing, and spread them distal to each other for more
even thermal control.
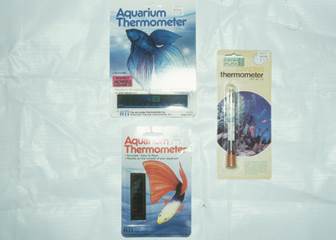
Thermometers vary widely in their ability to measure real temperature,
accuracy, and do so consistently; precision. If you have a large/r
system it pays to have two thermometers; one placed down low near the
bottom and the other near the surface. Bear in mind if using stick-on
thermometers that very large glass tanks and more thermally insulated
acrylics may give you false readings if there’s a good deal of
temperature difference inside the tank itself and outside in the air.
Various cleaning tools available:
Thank goodness for improved products and technology in our interest as
the years have rolled along. People go on and on about better lighting
and filtration, but clean-up gear has similarly evolved. Let’s mention
three principal, important pieces of aquarium maintenance kit: New water
treatment filtration, gravel vacuums, and lowly nets.
Regular, frequent (usually weekly) water change-outs and replacement
with new water are a standard element of good freshwater aquarium
management. There is no simpler, easier and surer way of maintaining
decent water quality by these serial dilutions of waste and heavy water.
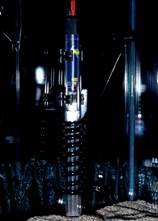
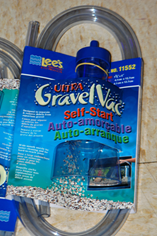
And the best piece of gear to accomplish this water changing feat? A
handy-dandy gravel vacuum! Years back we had to make our own “vacs” out
of tubing, an inverted funnel or plastic bottle or such with the bottom
cut off. Nowayears there’s a huge assortment of transparent tubed
vacuums of various size, some with a squared edge for getting into
corners, others sporting a bull-dozer like tip for turfing through the
gravel; some brands come replete with water bed fill/drain fittings for
hooking up to a sink to power drain and re-fill your system. Whichever
you choose, do get and stay in the habit of weekly siphoning out 20-25%
of your water, while vacuuming half the bottom (leaving the other half
till next time, to preserve biological filtration capacity). Your
livestock will thank you.
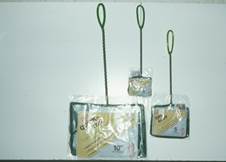
Lastly in our discussion, though certainly not the end of possible gear,
are lowly nets… These one simply cannot have too many of. Good quality,
soft netting (to disallow scraping of soft bodies) of various sizes and
grades are the tools of the trade and hobby. Folks who know what they’re
doing never use just one net; having two in action; one to direct the
intended prey, the other to scoop it out, rather than chasing animals
around and around. Larger grade netting is desirable for bigger animals,
especially ones like armored catfishes (think Loricariids and
Callichthyids), to prevent entanglement or expedite the removal of
barbed and spikey body parts.
So goes our brief discussion of tank tools and more; hope you’ve
enjoyed its perusal and learned a thing or two.
|
|
|||||||||||||||||||||||||||||||||||||

|
Features: |
|
| Featured Sponsors: |